Running Open-Weight LLMs Locally
The session that took the mystery out of open source AI: the vocabulary, how to pick a model that fits your job, and the actual repo we ran on stage.
The words that get thrown around
Pick the model for the job, not the job for the model
Before downloading anything, write down what you're trying to do, what outcome you want, and your actual constraints - hardware, time, privacy, budget. The task defines the model. Never the other way around.
Different models carry different strengths and weaknesses, and different capacity for something that looks like reasoning. Not every task needs that. Reformatting a spreadsheet is not the same job as writing a legal brief.
A bigger model usually takes longer and can be more precise, but only inside the domain it was actually trained on. Don't ask a model built for one kind of task to do a completely different one and expect it to go well.
Run the demo yourself, step by step
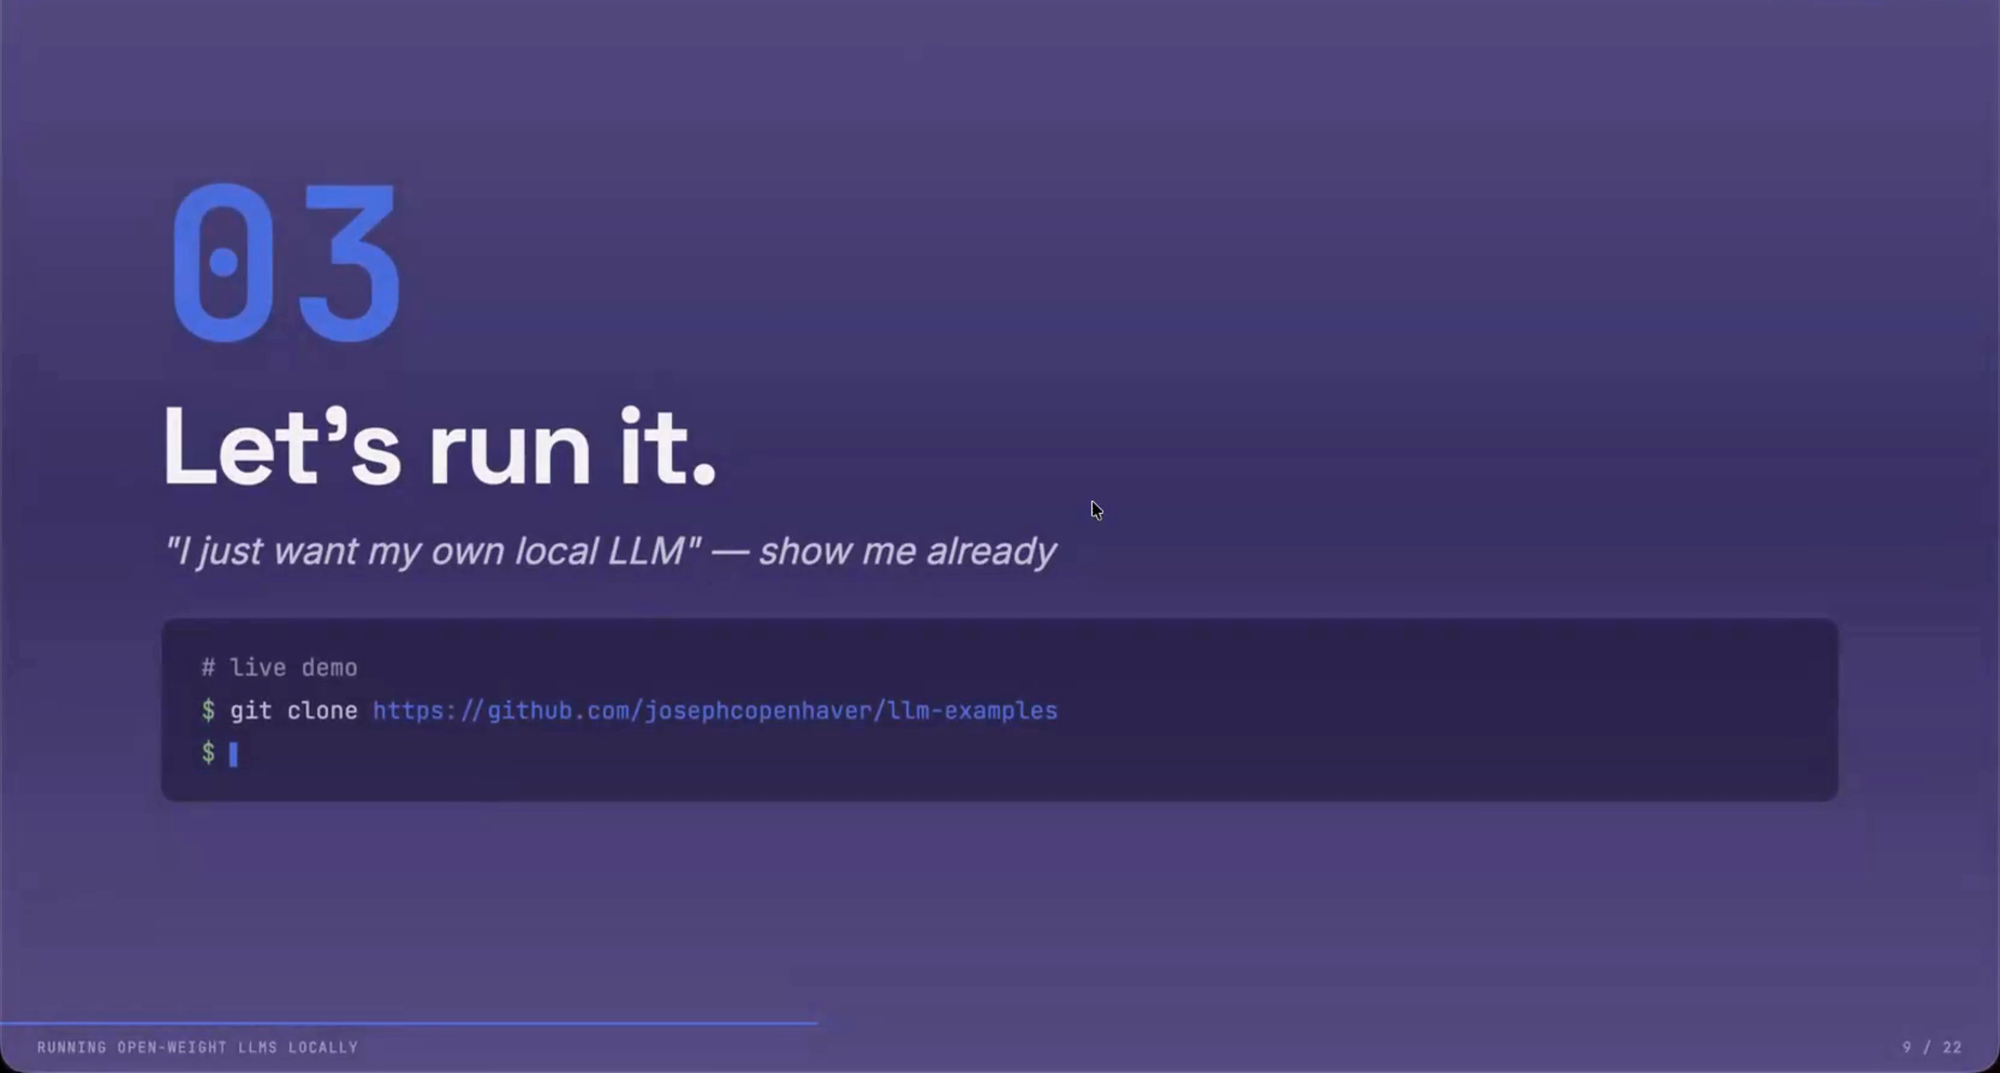
- Docker installed
- At least 120 GB free disk space — the model itself is large
- 16 GB RAM recommended. You can go lower (a Raspberry Pi with 8 GB RAM works) but drop to a ~2B parameter model.
- No GPU required. It just runs slower on CPU.
The repo includes an agents.md file, so any AI agent — Claude, Copilot, ChatGPT, or anything else — can read it and set the project up for you. Not just Claude Code.
Paste the repo link into your AI agent of choice and tell it to clone and run the project by following the README and agents.md. This is the easiest path — you do not need to know what Docker Compose is doing.
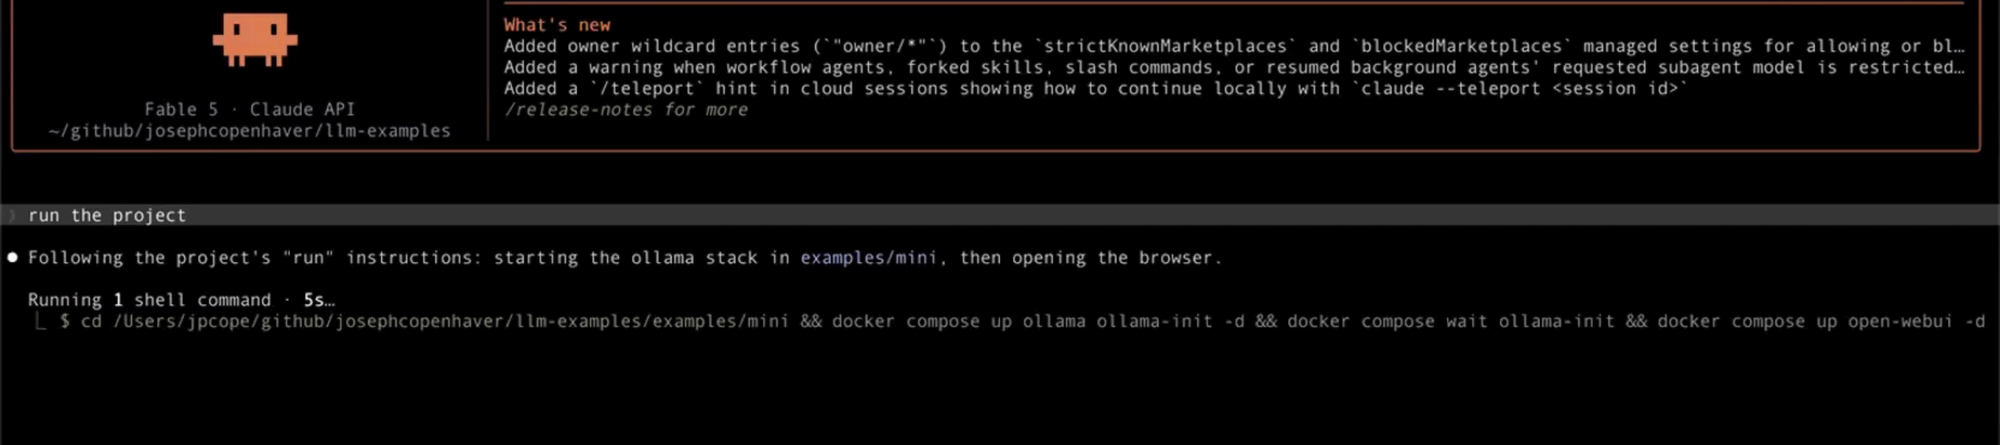
If you already have Ollama installed and want a raw terminal interface rather than the full stack, you can pull and run qwen3.5:4b with one command. This is the faster path for quick experiments.
The trailing '' makes Ollama load the model and exit. Without it, you land in Ollama's interactive prompt and have to exit before moving on.
Optional: for a faster setup, run Ollama directly on your machine so it can use the GPU if there is one, while keeping Open WebUI in Docker. This variant is for readers who are comfortable in a terminal.
From the cloned repo directory, run:
This command has four parts:
- Start Ollama, the model runtime.
- Run the init step that pulls and seeds the model.
- Wait for that init to actually finish — this is the slow part on a first run.
- Start Open WebUI, the chat frontend.
The compose path prints similar startup output — Ollama initializing, the model loading, then Open WebUI coming up.
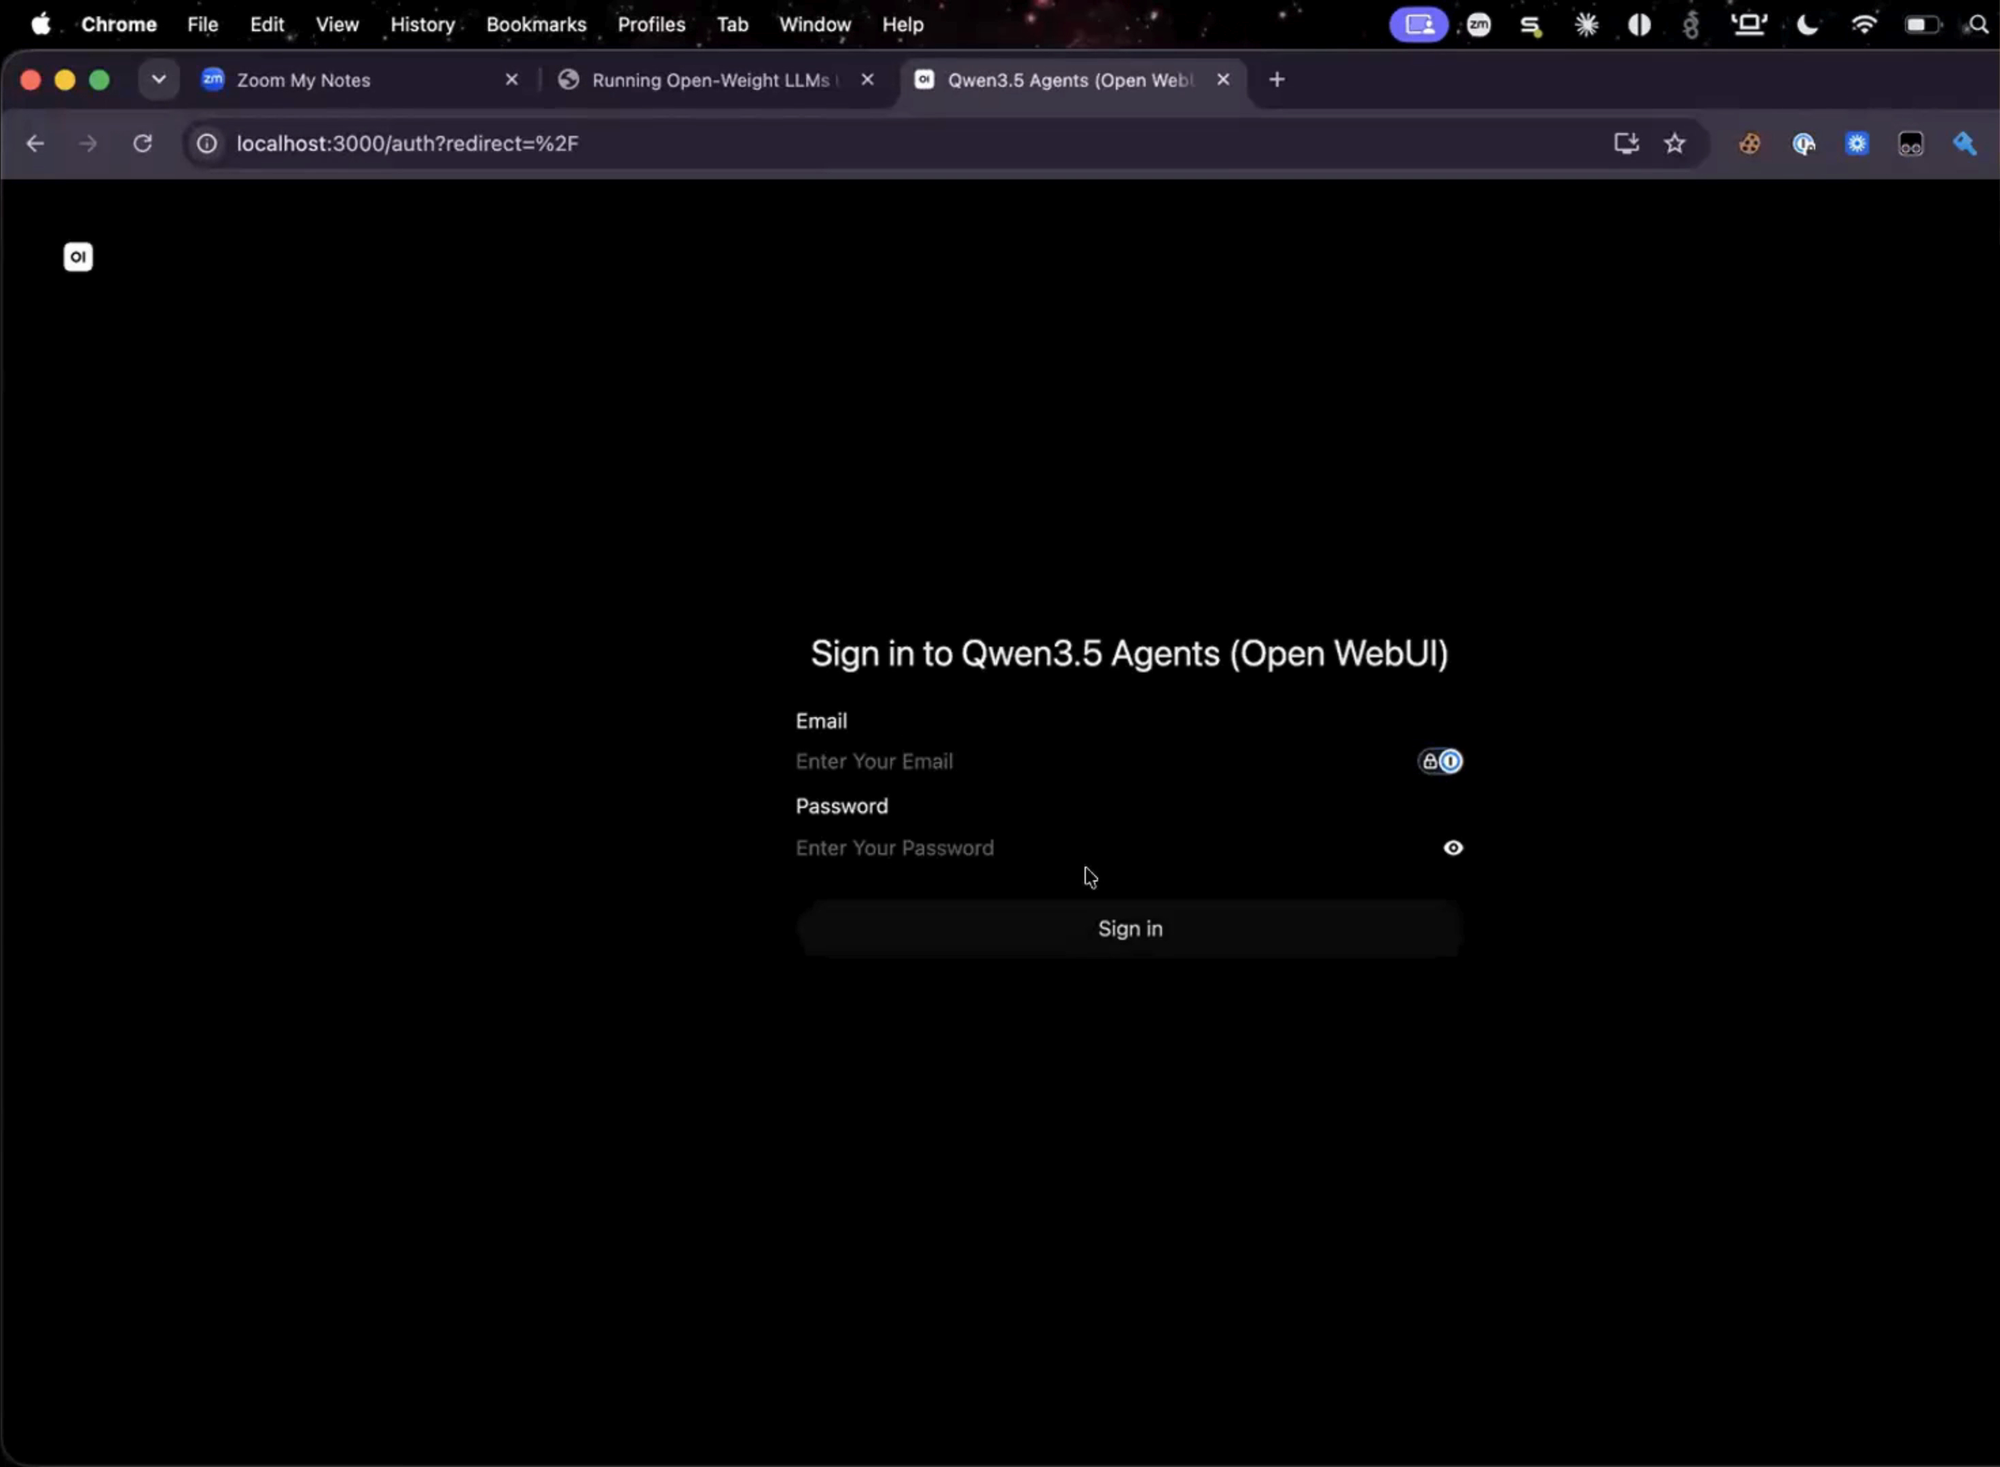
Open your browser to http://localhost:3000. Create a login. It is local only — a throwaway email and password is fine, nothing goes anywhere. The model will already be pre-selected in the interface.
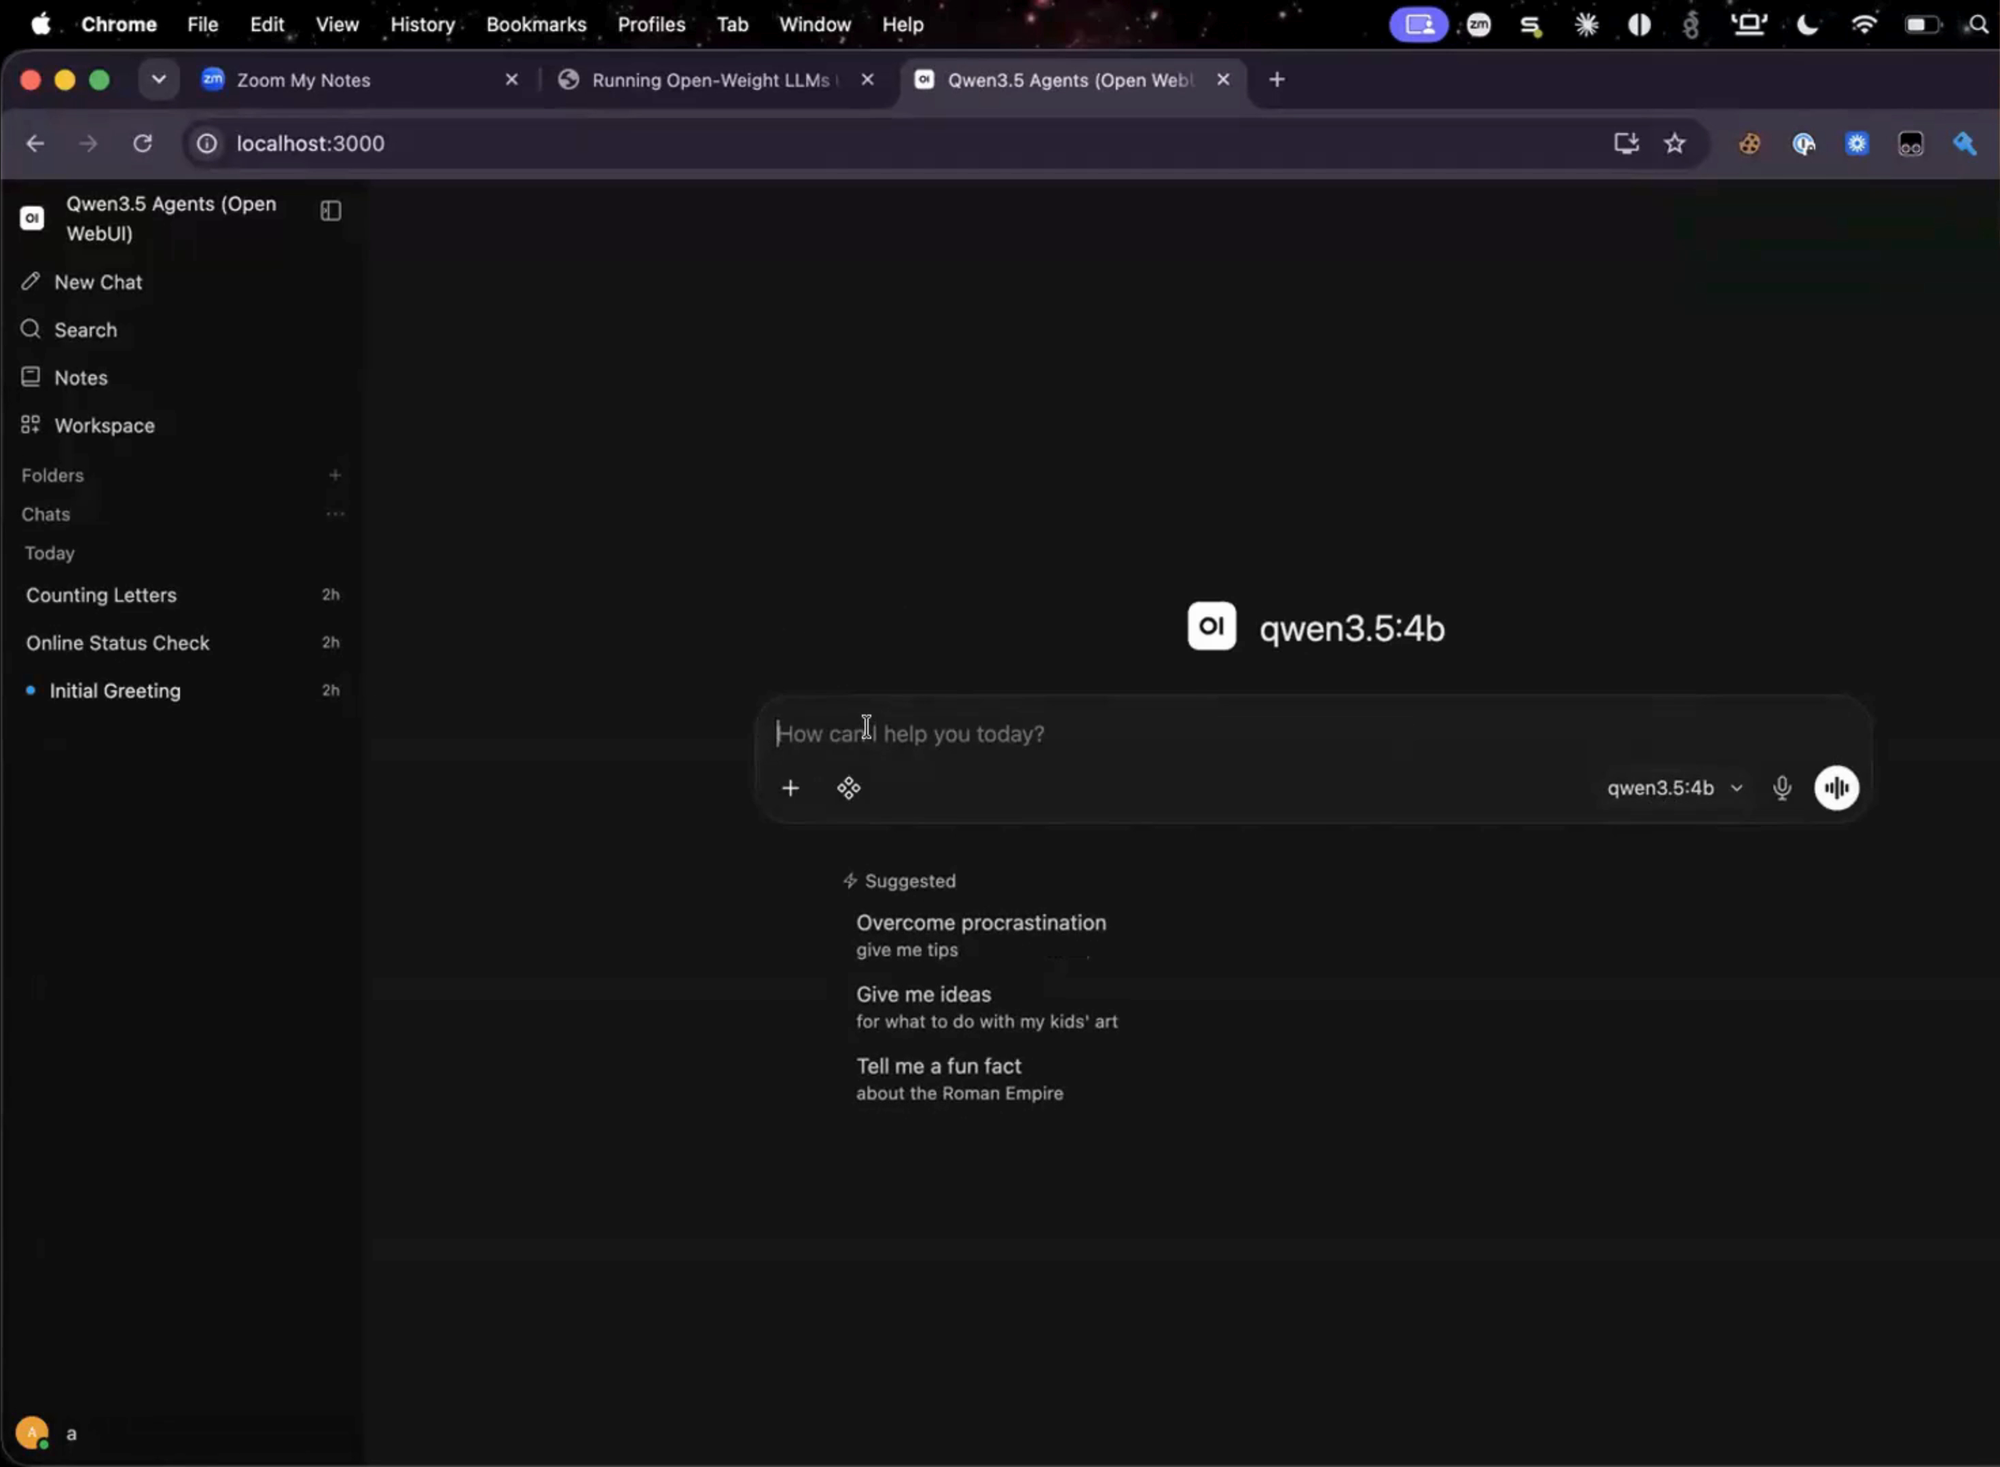
Start with simple prompts to confirm it is working:
"How are you?"Basic response check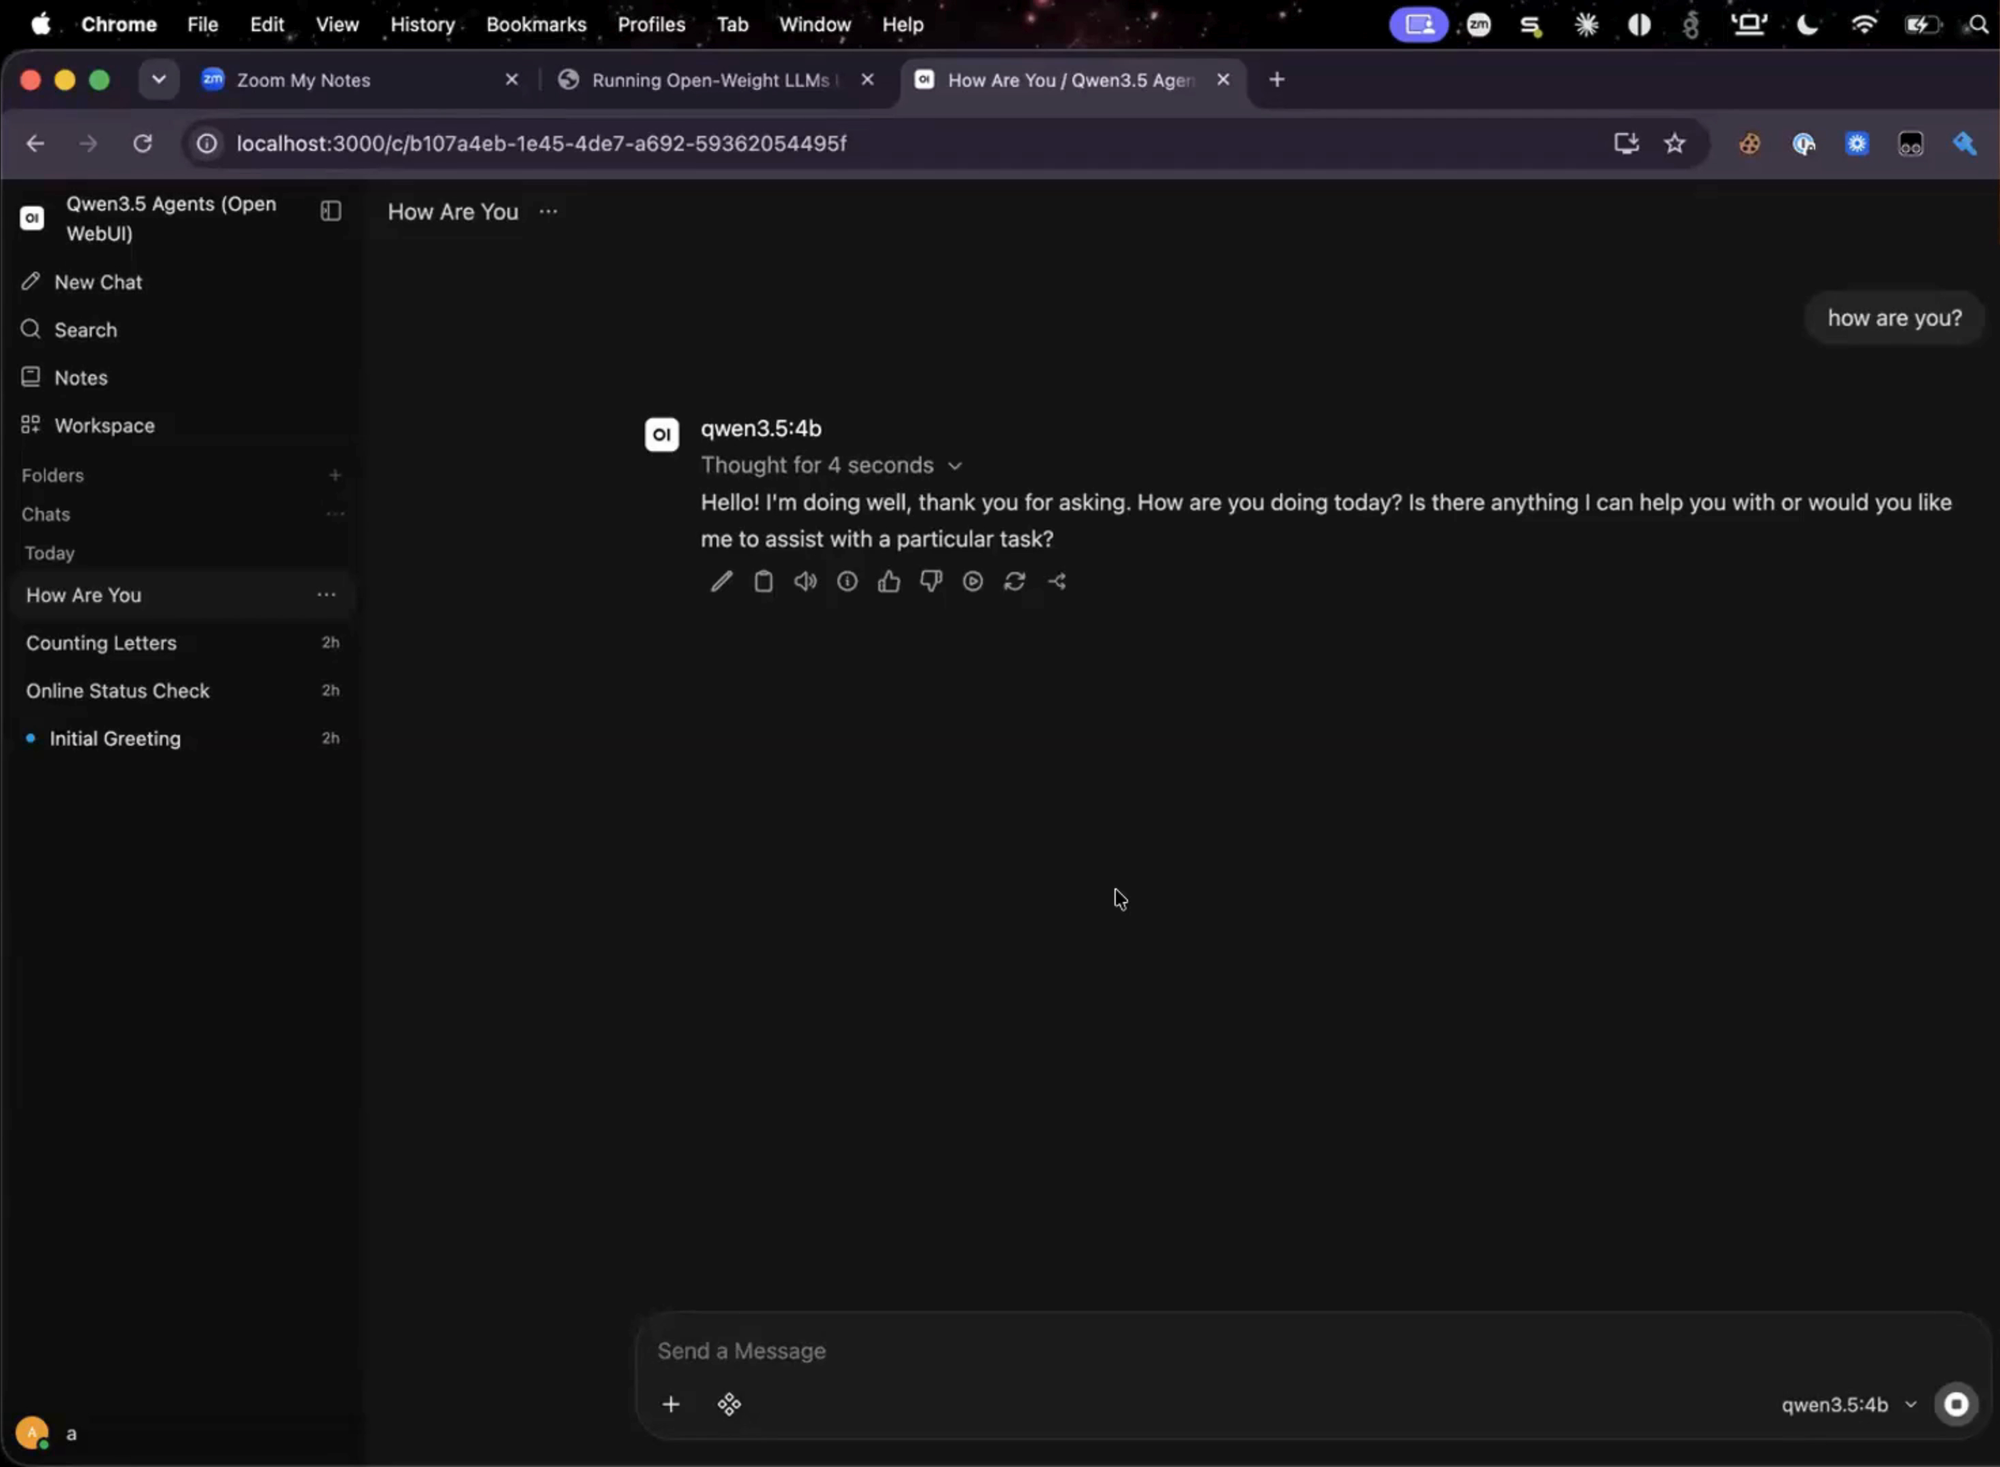
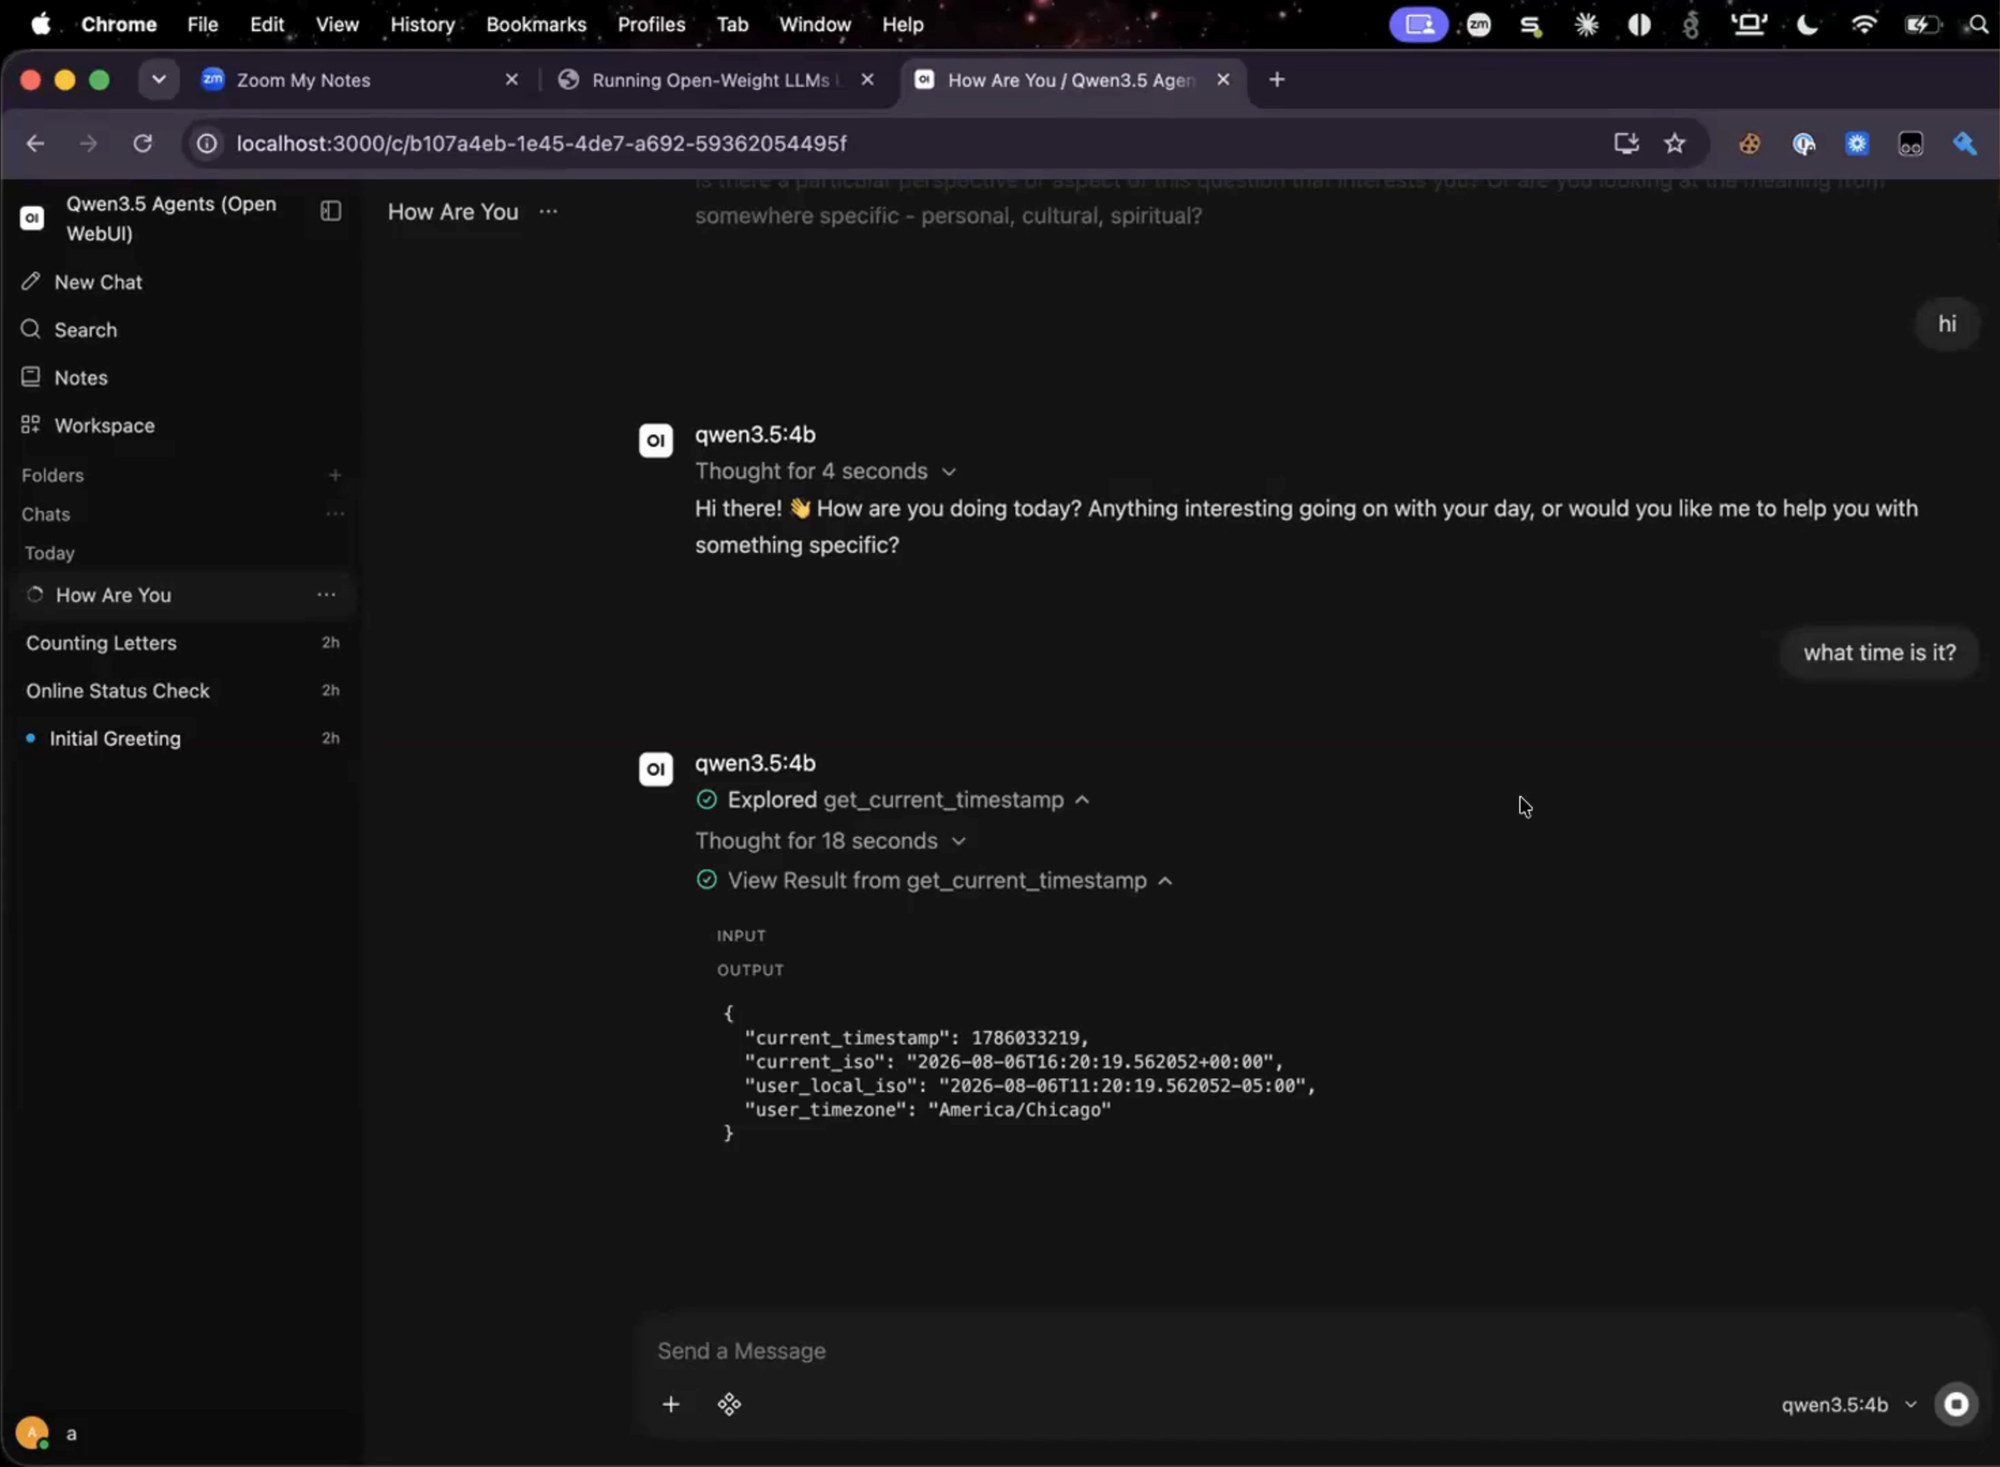
"Hi"Shortest possible turn — confirms the loop is alive"What time is it?"Tool call test — see belowThat third prompt is a deliberate test. The model has no clock of its own, so it calls get_current_timestamp. Open WebUI shows an "Explored get_current_timestamp" row and a "View Result" panel containing the raw JSON. The model then writes its answer from that result. That is the whole point of the example: the model has to call a tool and then use what the tool returns. Everything that makes agentic AI work is a bigger version of this same pattern.
Hardware buys speed, not truth
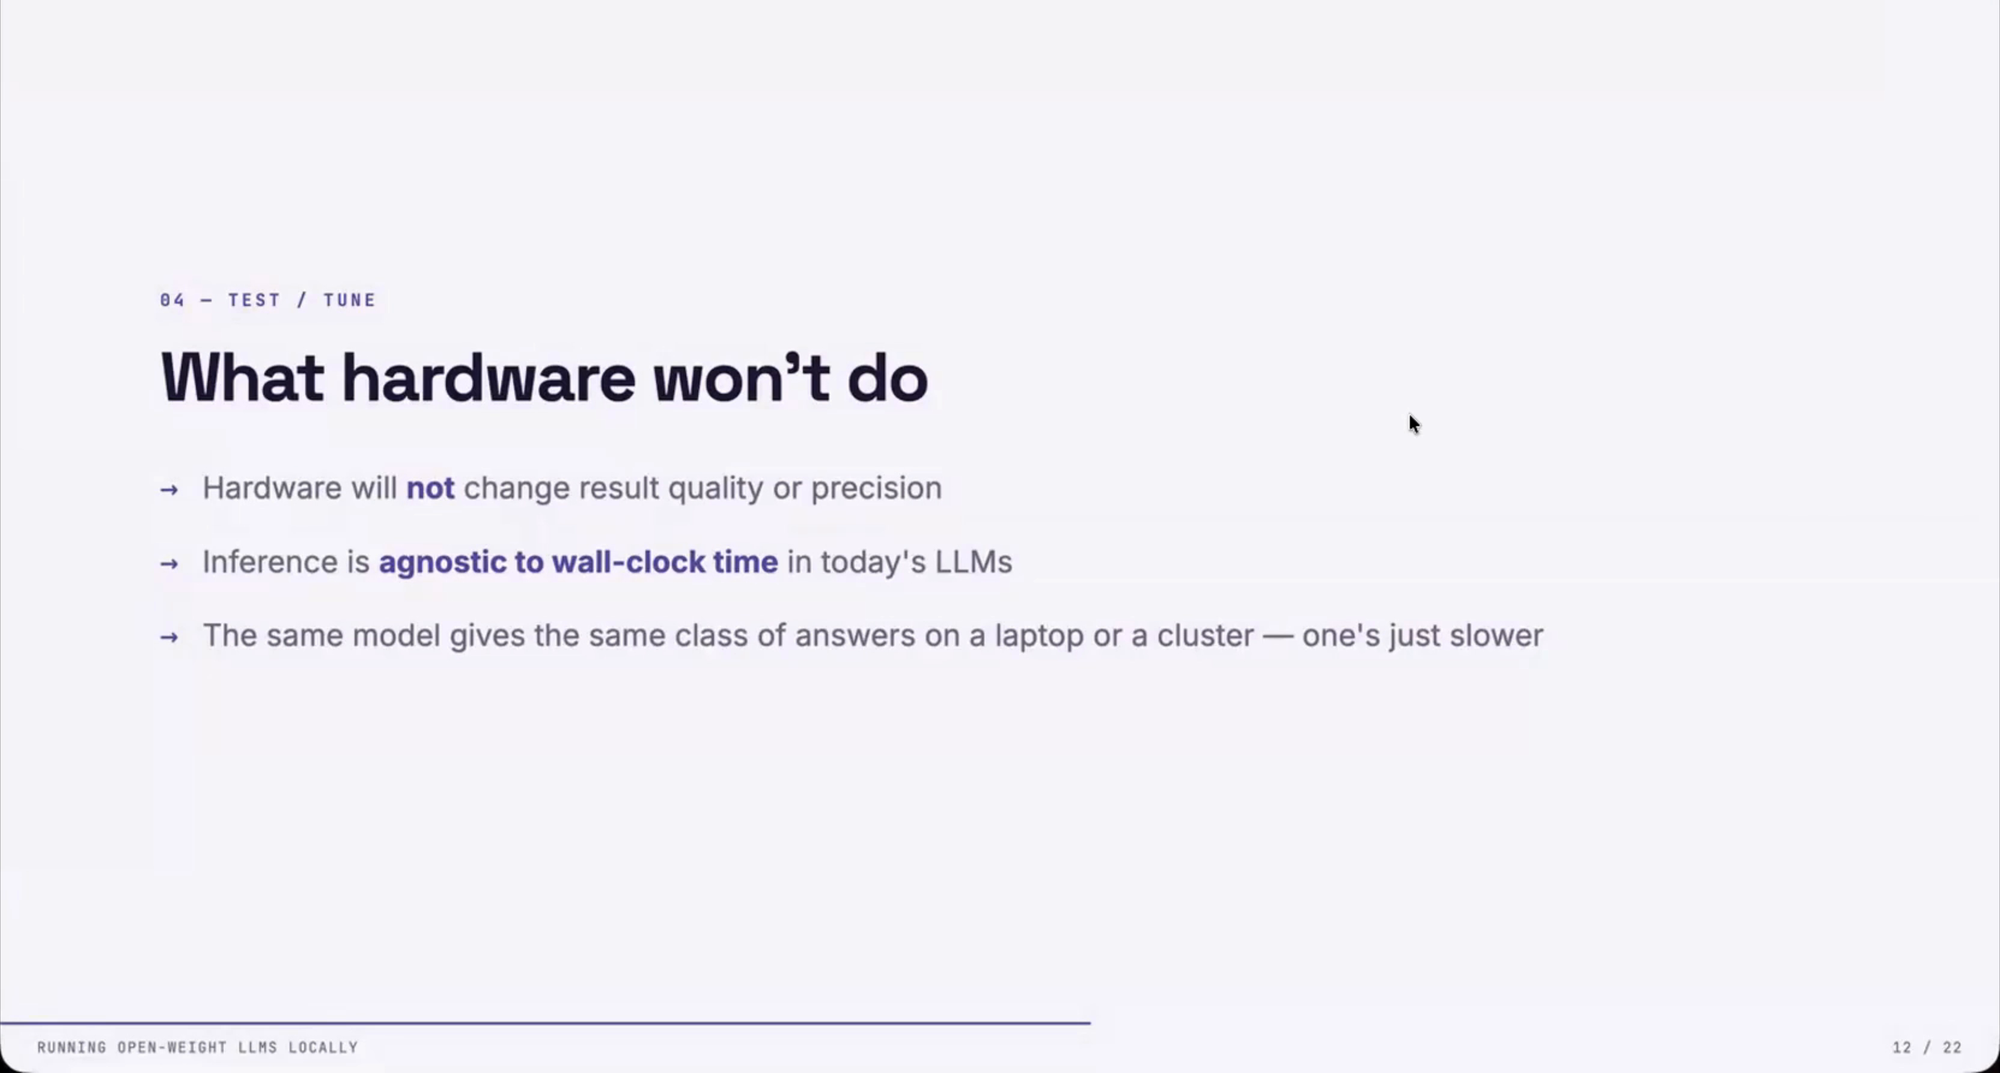
VRAM determines what fits in memory. GPU cores and memory bandwidth determine how fast tokens move. Better hardware means faster responses — not smarter ones. The same model gives you the same class of answer on a laptop or a cluster. One is just slower getting there.
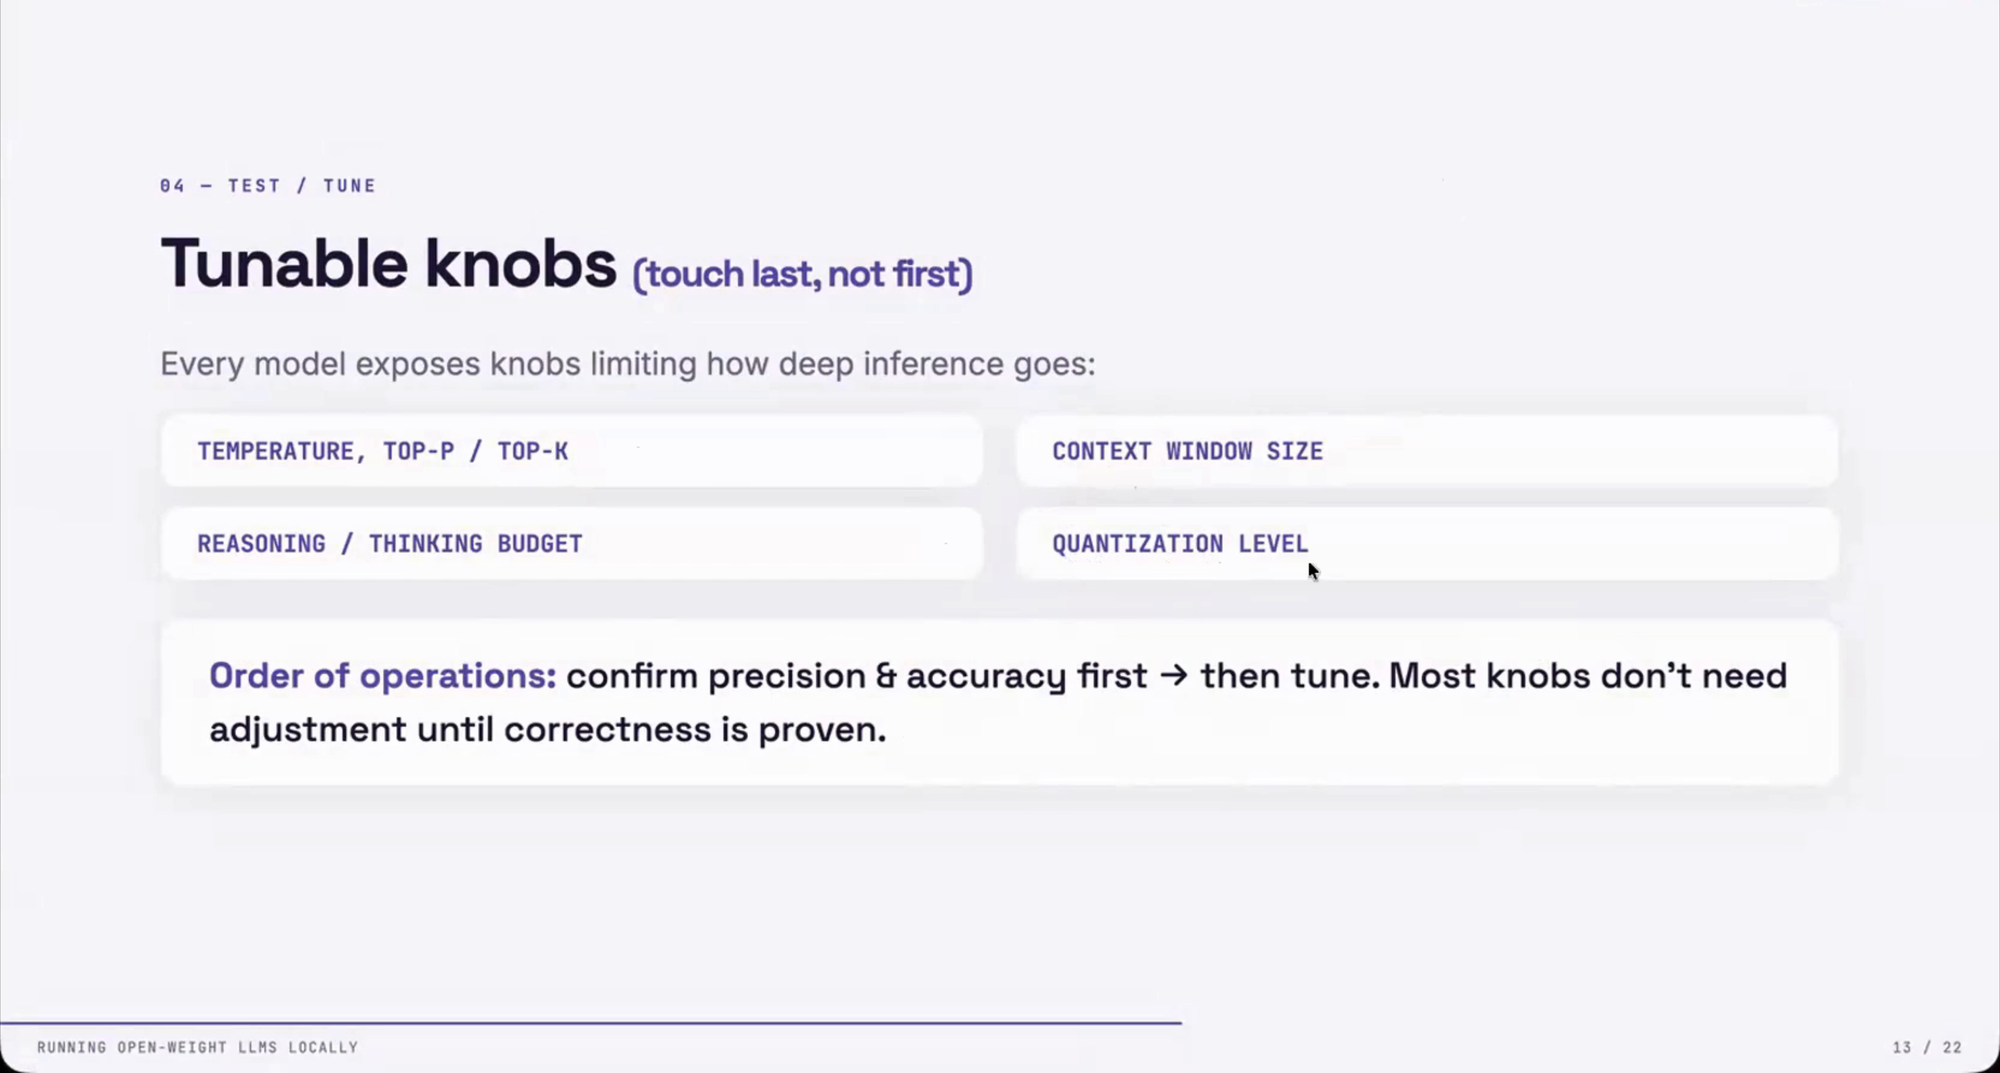
Quantization is the process of compressing a model's weights to fit smaller hardware. A highly quantized model runs faster and uses less memory, but loses some capability in the process. Model choice — which model, at which quantization level — is where you actually control the quality and capability of what comes back.
Start with the largest model your hardware can tolerate without thrashing. Confirm the output quality is good enough for the task you actually need it to do. Once you know the base model can do the job at all, then start trimming — smaller model, higher quantization — until you hit the best tradeoff of speed, quality, and resource cost. Do not bother tuning temperature or other knobs until you have confirmed the base model is capable in the first place.
Tell it who you are and what you need
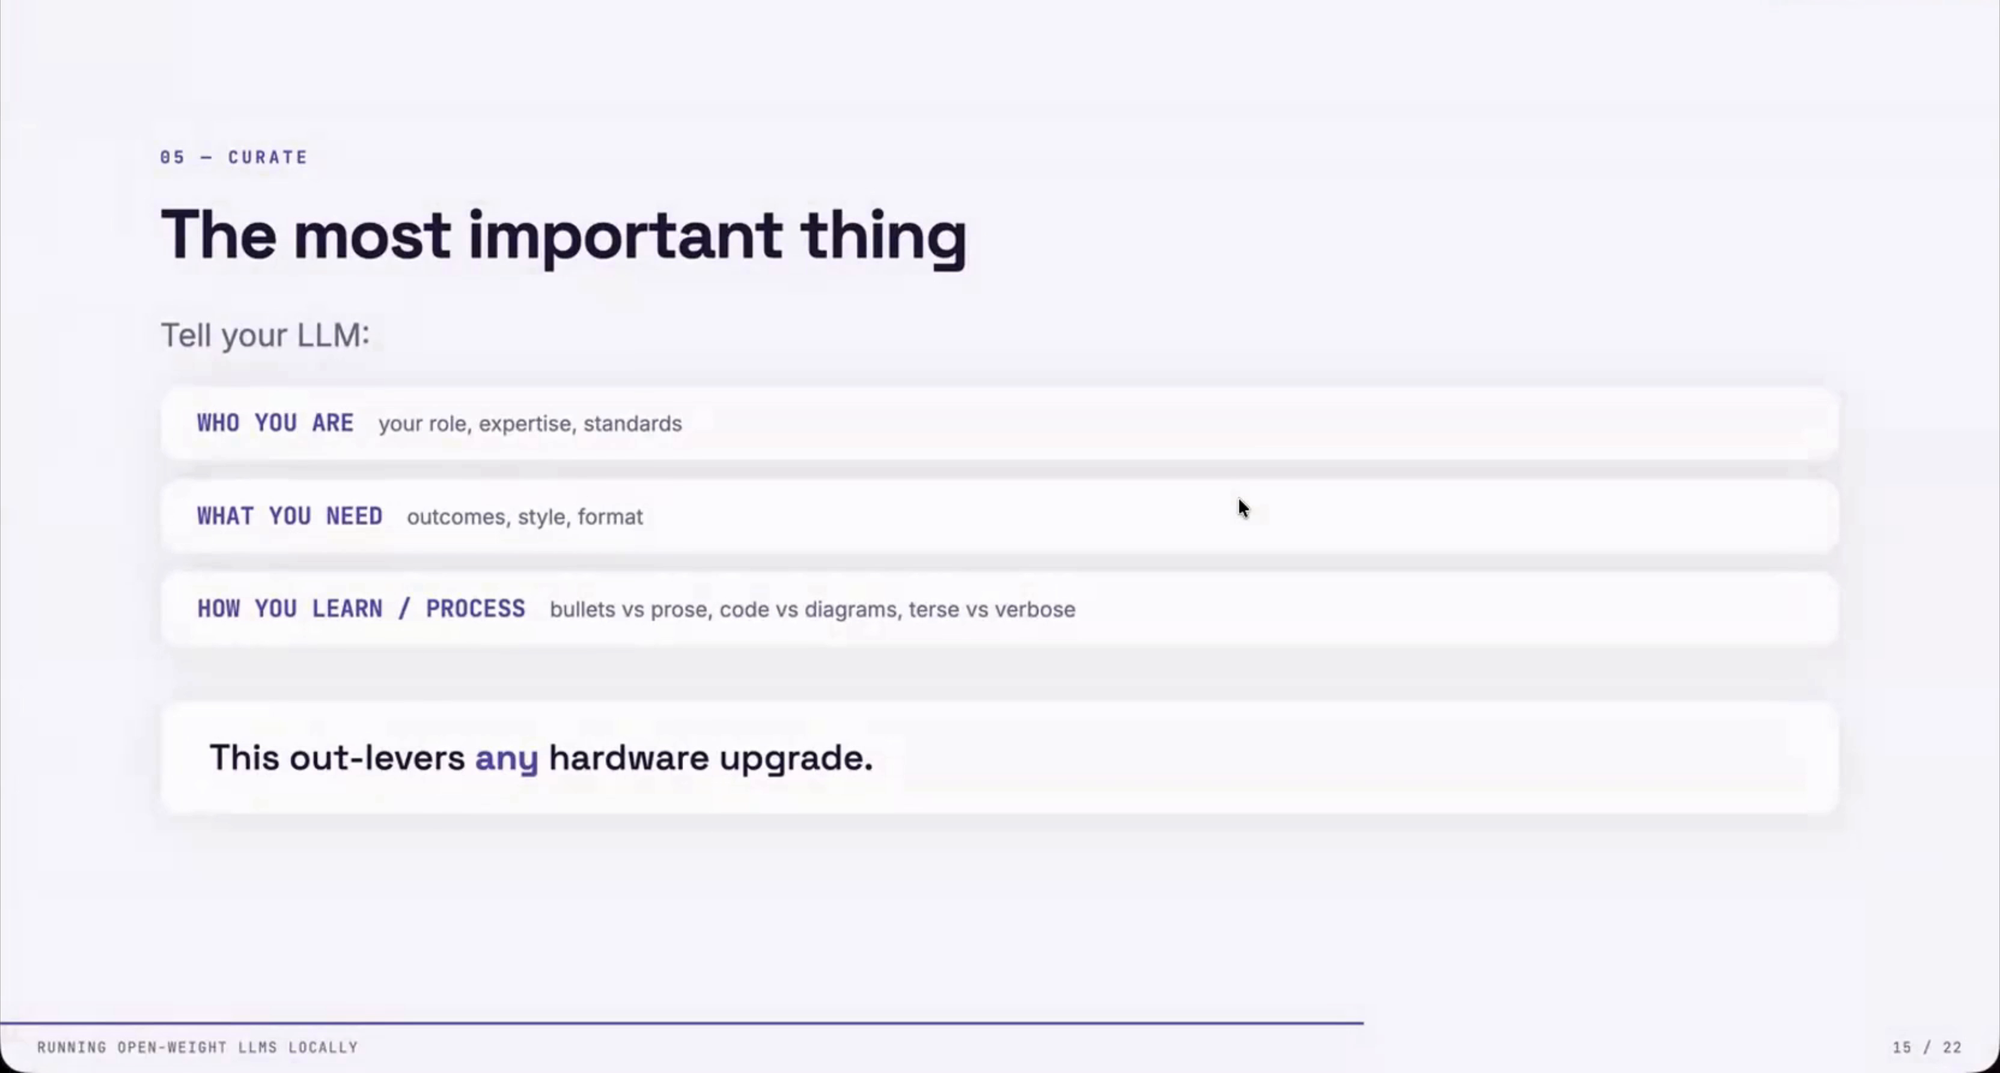
Three things to give any model before you rely on it: who you are (your role, your expertise, your standards), what you need (outcome, style, format), and how you process information (bullets or prose, code or diagrams, terse or verbose). This does more for the quality of what you get back than any hardware upgrade.
Powerful loops need short leashes
An LLM doesn't contain the world's knowledge or your business processes. It contains math that predicts the next chunk of text given the last chunk of text. That means you have to seed it with the understanding it needs, and you have to build a way to check its work. Anything is possible and everything can go wrong, so bring a firewall.
- n8n for self-hostable visual workflows
- Langflow or Flowise for visual LLM pipelines
- Airflow or Prefect for task orchestration
- Plain task tracking in Taskwarrior, GitHub Issues, or a kanban board
- MCP servers for exposing tools and state to a model in a way you actually control
Five items before you deploy anything
Where to go from here
You have the walkthrough. Clone the repo, run the full-stack command from Step 3, and try it against a real task you are currently paying API or subscription tokens for. That is the whole assignment.